Document sharing
In some courses, you can share documents, presentations, and audio/video files with your instructor by uploading them to Document Sharing. The instructor can choose whether to share your document with the class. When a file is shared with the class, you and other students can download it.
Your instructor can also share documents with the class in Document Sharing.
- No special characters in file names — A message lets you know if a file or folder name contains any special characters, such as & $ % # @ * ( ).
- File size — To ensure that a file uploads successfully, limit the size to 100 MB. For files larger than 100 MB, store the file outside of the course then add a link to it in a document before you upload it to Document Sharing.
- Select Document Sharing from the course menu, or in some courses, after selecting Course Tools or Communication Tools.
- To upload files, either:
- Drag one or more files onto the Documents space or into a folder.
- Select Upload, browse to locate the file, then select Open.
- Select Document Sharing from the course menu, or in some courses, after selecting Course Tools or Communication Tools.
- Select the check box for file or folder you want to download.
- To download a single file or folder — Select
 for the file or folder, then select
  Download.
 - Drag the downloaded file to a location on your device.
Zip files — If you download a compressed ZIP file, you must expand its contents.
- To move one shared document or folder — Select
 to open the Doc Sharing menu, then select
  Move.
Move.To move multiple shared documents or folders — Select the check box for each item, then select
 Move from the top of the page.
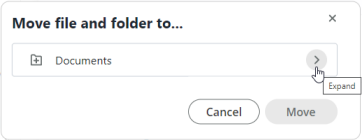
 - Select
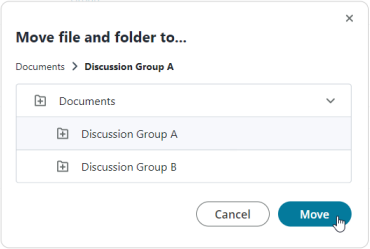
 to show all the folders under Documents.
- Select the folder where you want to move your files and/or folders then select Move.

- Select the check box for the file or folder you want to rename.
- Select
 to open the Doc Sharing menu, then select
  Rename.
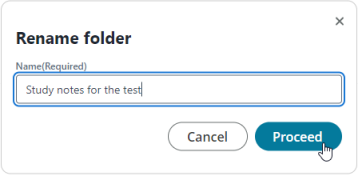
 - For Name (Required) enter the new name.

- Select Proceed.