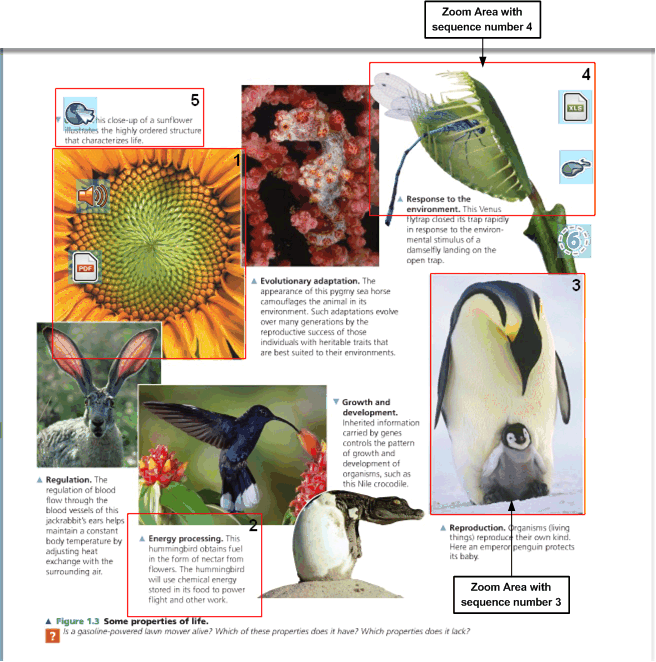
Zoom area draws a learner’s attention to a specific area of the screen by expanding that portion of the image. Using the Authoring tool, you can add, modify and delete zoom areas as needed. You can see them only in the Whiteboard view.The Whiteboard view presents eTexts with a simplified user interface. The interaction model in this mode facilitates navigation through key content areas and supports single touch hand gesture. It displays in the same browser window as the eText in the Viewer application.
To define a zoom area using the Zoom Area Tool:

Use the following description to learn more about the fields and values in the Property Editor panel for every zoom area.
| Parameter | Value | Description |
|---|---|---|
| X, Y, W, H | [numeric] |
X and Y specify the geometric location in points to the upper left corner on the target page. W and H specify the width and height of the zoom area on the target page. The area is highlighted as per the values specified for W and H. |
| Sequence Number | [numeric] | Defines the sequence of zoom areas. |
To update/modify a zoom area:
Double-click on the zoom area to open the property editor panel. You can adjust the X, Y, W, H and Sequence number for any zoom area.

To delete a zoom area:
Double-click the zoom area to open the property editor panel. Click Delete button on the property editor panel to delete the zoom area on the target page.
Notes: