.
.The timer starts as soon as a student clicks Start Now to begin a timed assignment, and it continues running until the student completes the assignment or until time runs out, whichever comes first. A student cannot pause the timer once it is started.
Notes:
.
 An Adaptive Follow-Up assignment never has a time limit, even if it is added to a timed assignment.
You can make a Mastering assignment in any category into a timed assignment by changing one setting. The Homework, Quiz, and Test categories are not initially set to include a time limit.
[Optional] At this point you might want to click  Organize Content and check the estimated time displayed at the bottom of the list of assignment items.
Important: If the assignment is pooled, be sure to consider the longest estimated time if a range is shown. If the assignment contains items that you've created, be sure to account for them in the estimated time, as well.
Then click  Start to continue with the next step.
Click Save.
When you display the Assignments list, a clock icon appears next to the assignment title. Point to the icon to see the time limit.
For the entire class:
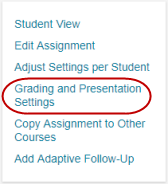
On the Overview page, click Edit Grading and Presentation Settings in the Actions box. ![]() View image
View image
For one or more students:
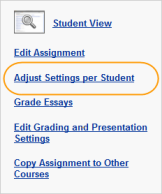
Click Adjust Settings per Student in the box on the left of the assignment Overview page. ![]() View image
View image
For one or more students:
Click Adjust Settings per Student in the box on the left of the assignment Overview page. ![]() View image
View image
Alternatively, for one student:
You can try out the timed assignment experience by working through an assignment as a student. Only instructors see the Reset Timer button, provided as a convenience as you complete timed assignments.
icon in the Assignments list, and