Personalize your course list
Updated 17 Sep 2025
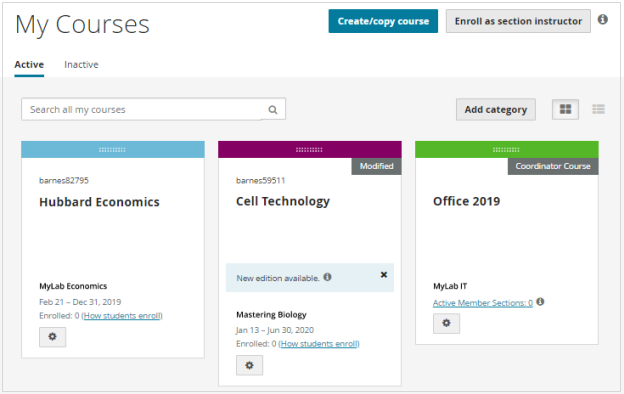
Organize the My Courses page as you like.
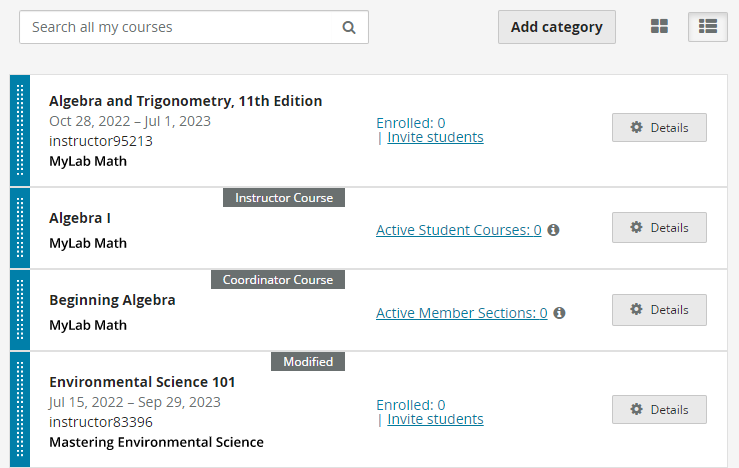
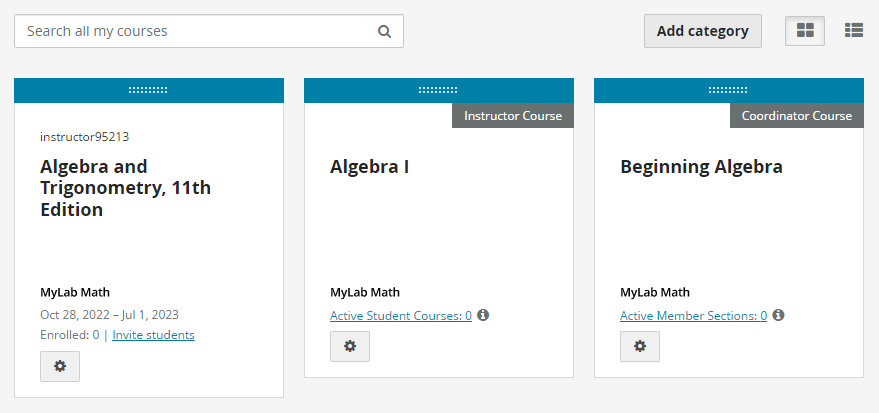
Courses show as tiles by default.
Select  to see a list view.

Select  to see a tile view.

Arrange courses in your preferred order.
- Use
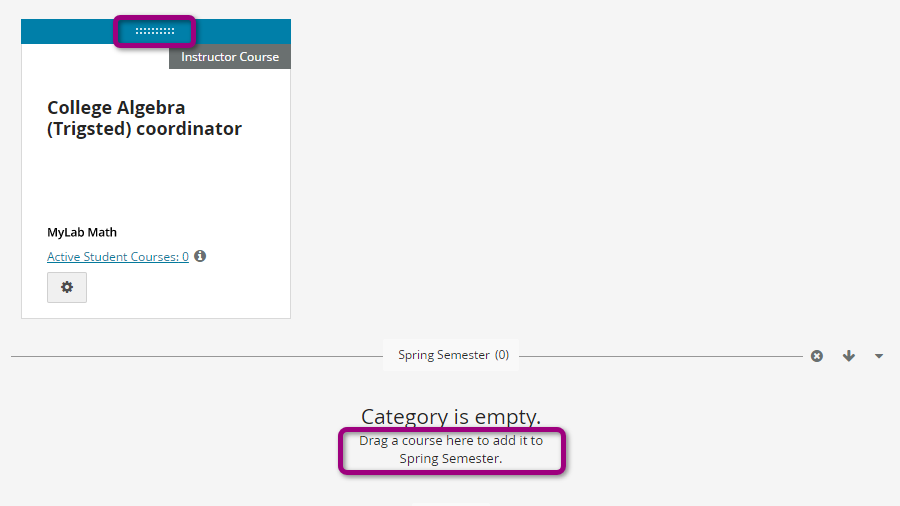
 to drag and move a course to another location on the page, including within and between categories.
Choose a color for your course so you and your students can quickly find it on the My Courses page.
- Select the course name to open it.
- On the main menu, select Manage Course.
The Edit Course Menu opens.
- Select Edit Theme from the menu.
- Choose the color style you want for your course.
To apply the same theme that showed when you originally created the course, select Restore original.
The course immediately reflects your theme choice within the course and also on the My Courses page.
- To see the change on the My Courses page, select Main Menu,
 or Back to my courses.
Create and name your own categories to better organize your courses, especially if you teach or coordinate many courses.
Add categories to any page view: Active, Inactive, and within coordinator member section lists and instructor student course lists.
- Select Add category at the top of the page.
- Type a category name and then press Enter.
- The limit for a category name is 30 characters including spaces.
- Each category name must be unique within a page.
- The category name can't be empty. If you decide you don't need the category, you can delete it later.
The new category is added below the uncategorized area and above existing categories.
- Use
 to drag and move a course into the new empty category.

The total next to the name shows the number of courses within the category. For example, Fall Semester (1).

Move as many courses as you want into a category.
- Select the existing category’s name.
- Type the new name and then press Enter.
- Select
 to move a category down, after the next category.
 - Select
 to move a category up, before the previous category.
 You can’t move a category above the uncategorized area at the top of the page.
- Select
 to collapse a category to hide courses within it.
 - Select to
 expand a category to again see those courses.
- Select
 to remove a category you no longer need.
 - Select Yes for the confirmation message to remove the category, or Cancel.
Courses in this category display in the uncategorized area at the top of the page.
Notes
- Categories are page specific.
- Your personal categories don’t carry over to students’ My Courses pages. Students can create their own personal categories to organize courses as they like.
- When a course end date passes, the course moves to the Inactive tab. If you edit course details to change the course end date to a future date, the course returns to the Active tab in the category where you previously placed it. If the course was not in a category, it moves to the uncategorized area at the beginning of the course list (top of the page).
- Existing categories can be collapsed or expanded on a smartphone or other small devices. Switch to a desktop computer to add, rename, move, or remove categories.
The My Courses page alphabetically lists courses and products. New courses you create show in alphabetical order. However, after you rearrange courses to customize your page, new courses show at the beginning of the course list (top left corner of the tile view; top row of the list view).