Enable Access Pearson Codeless
Your institution may offer students the option to opt in to add the cost of Revel content to their tuition or fees. This is available from your bookstore through Access Pearson Codeless as part of your Inclusive Access or institutional-bill program. Bookstores include Barnes & Noble, Follett-Willo, RedShelf, or VitalSource. When students opt out, they can buy access through Pearson using a credit card or, if available, PayPal or Apple Pay.
Your LMS administrator usually works with the bookstore to integrate Access Pearson Codeless with your LMS course. To enable Access Pearson Codeless, select the bookstore link and access your Revel content. For instructions, select your bookstore below. The name and location of the bookstore link depends on the course setup. The link is sometimes named Course Materials and may include your bookstore name.
Student access to Revel via Barnes & Noble, Follett-Willo, RedShelf, or VitalSource: Select the bookstore link to ensure Access Pearson Codeless is enabled. Make the link visible to students to allow them to manage the opt status by following your institution's process. This prevents issues with student access.
Not sure how to find the bookstore link or don't see the right Pearson content? Check the instructions below. If you still have trouble, contact your bookstore or LMS administrator.
Step 1: Set up Access Pearson for your LMS
Before you enable Access Pearson Codeless, you may want to set up Access Pearson if available. For instructions, select your LMS:
Step 2: Hide the Revel and eText tool link
If the old Revel and eText tool link for LTI 1.1 is still visible, it could confuse students. This link is usually named Pearson. Hide the link from students and don't use the link to add or copy Revel content to your LMS course. This helps avoid issues with student access and purchase.
Make sure you don't hide the Access Pearson link.
How to identify your integration: Check the Launch Type in Diagnostics if you're unsure which integration you're using. The Launch Type for Access Pearson Codeless is Channel partner integration LTI 1.3. The Launch Type for Access Pearson is Standard integration LTI 1.3.
Step 3: Enable Access Pearson Codeless
For Barnes & Noble, Follett-Willo, RedShelf, or VitalSource, select your bookstore for how to enable Access Pearson Codeless.
Select your bookstore
- Open your LMS course.
- Select the Course Materials link to access Barnes & Noble. The name and location of the link depends on the course setup.
You may need to add the link. See Barnes & Noble Help for instructions.
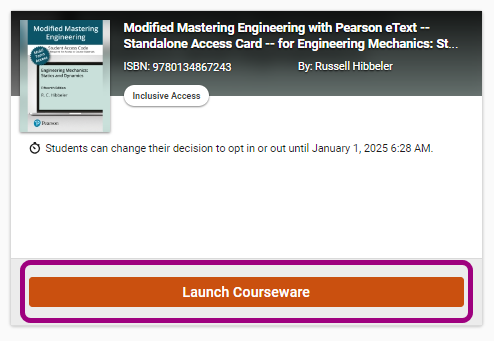
- Select Launch Courseware.
- Open your LMS course.
-
Add Follett-Willo to your course. Select your LMS for instructions:
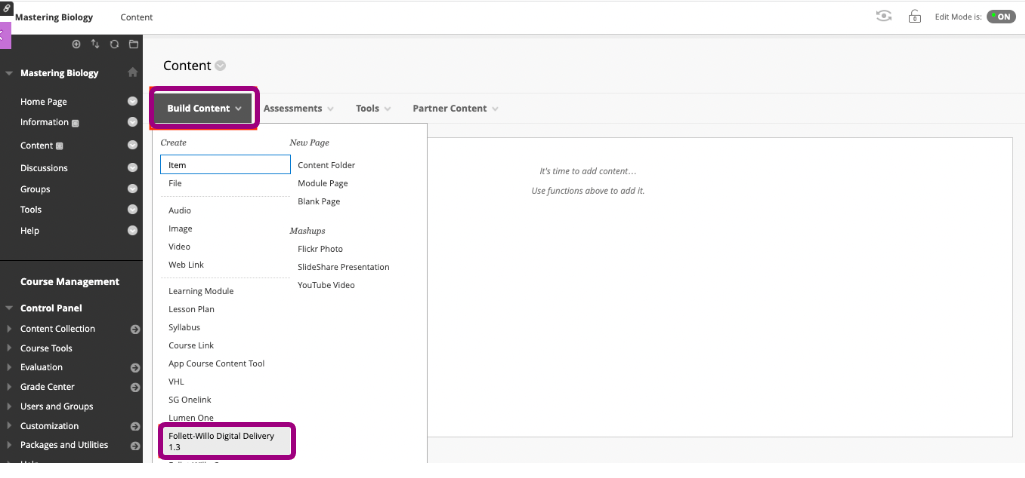
 Blackboard Original
From a content area, select Build Content. Then select Follett-Willo Digital Delivery 1.3 or whatever your institution named the tool.
 Blackboard Ultra
- From your Blackboard course, select View course & institution tools under Books & Tools.

- Select Browse all course tools under Can't find what you need. You might need to scroll to find the link.
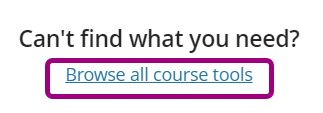
- Select Follett-Willo Digital Delivery 1.3 or whatever your institution named the tool.
Canvas
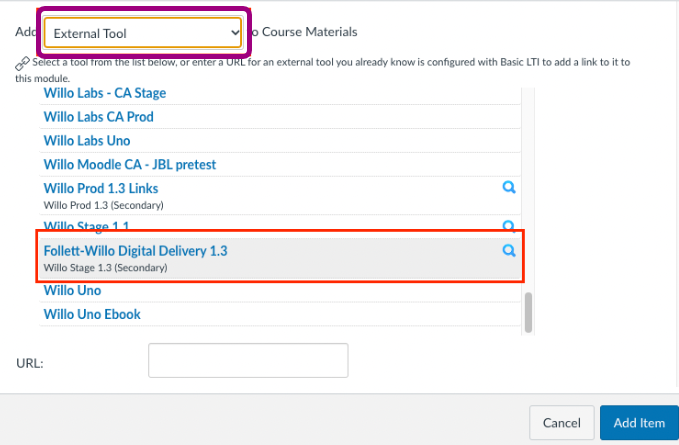
- Select the + button in a module.
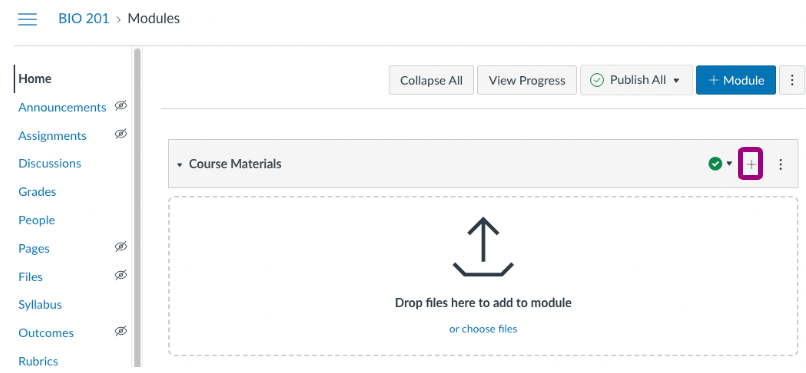
- From the Add list, select External Tool. Then select Follett-Willo Digital Delivery 1.3 or whatever your institution named the tool.
D2L Brightspace
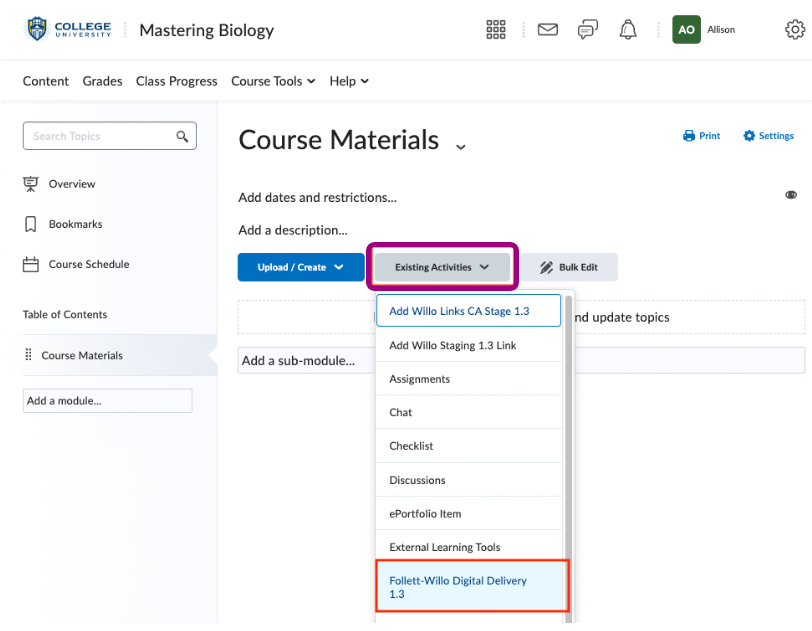
From a module, select Existing Activities. Then select Follett-Willo Digital Delivery 1.3 or whatever your institution named the tool.
 Moodle
- Select Turn Editing On.
- From a topic, select + Add an Activity or Resource.

- Select the External tool tile.
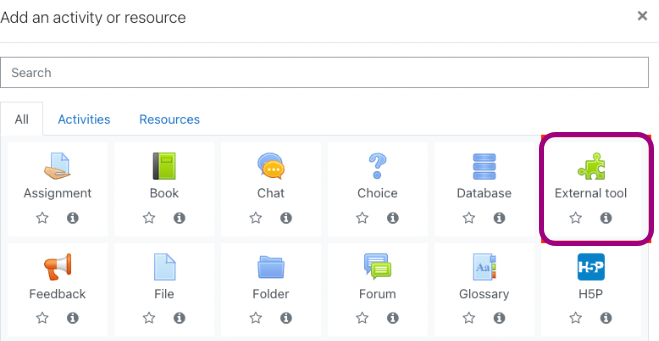
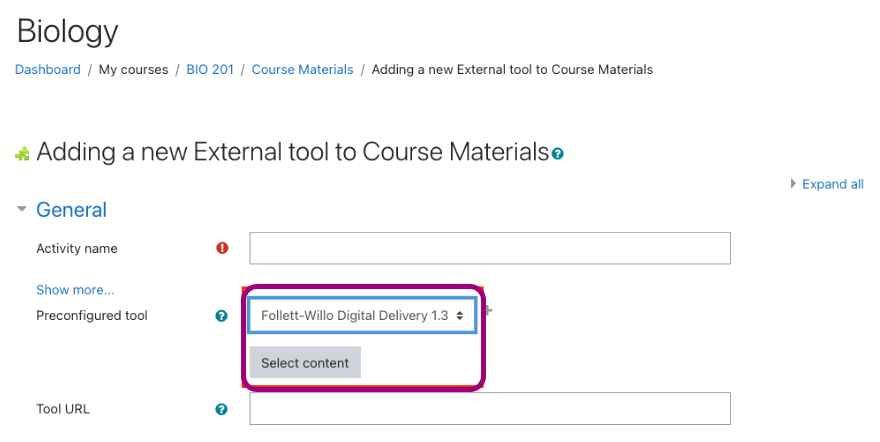
- From the Preconfigured tool list, select Follett-Willo Digital Delivery 1.3 or whatever your institution named the tool. Next, choose Select Content.
Check back for Sakai and Schoology.
- From your Blackboard course, select View course & institution tools under Books & Tools.
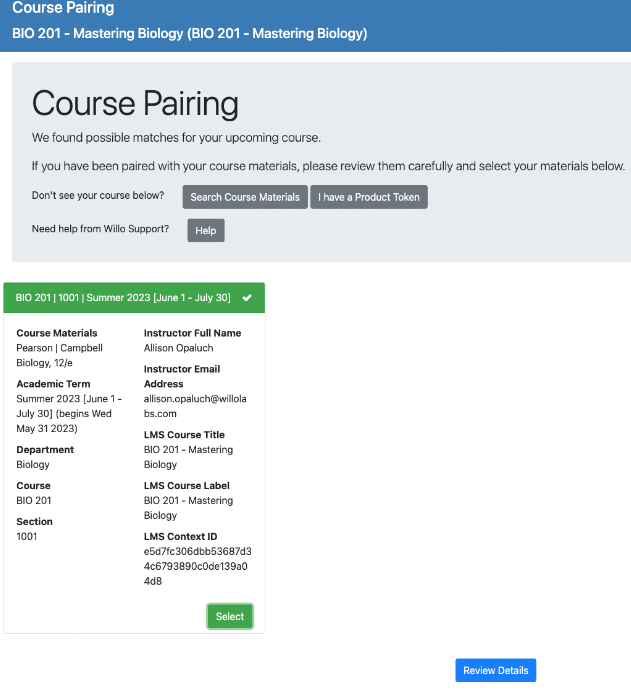
- Depending on your course setup, do one of the following:
- If you see the Course Pairing page, choose Select to use the suggested course materials and then Review Details. Otherwise, select Search Course Materials or I have a Product Token.
- If you don't see the Course Pairing page, go to step 7.
- Look over the details for the course materials and then select Confirm Selection.
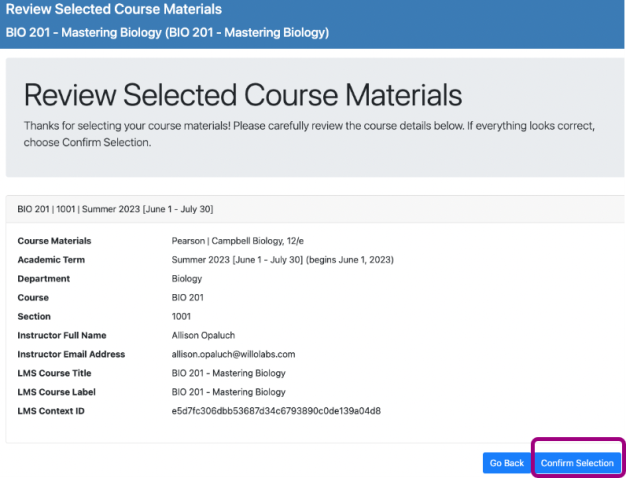
-
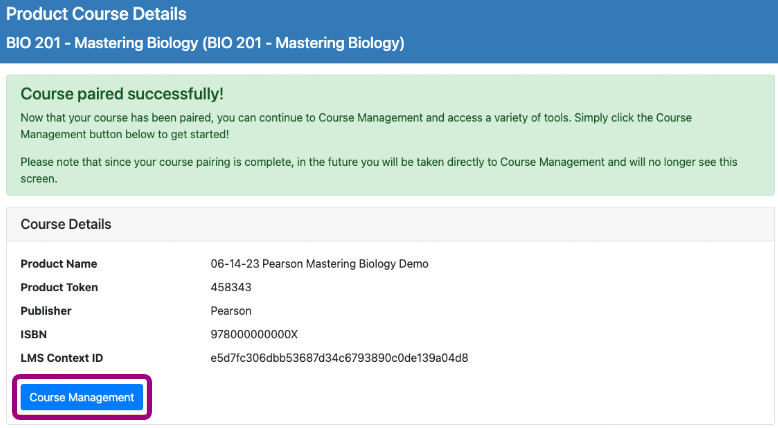
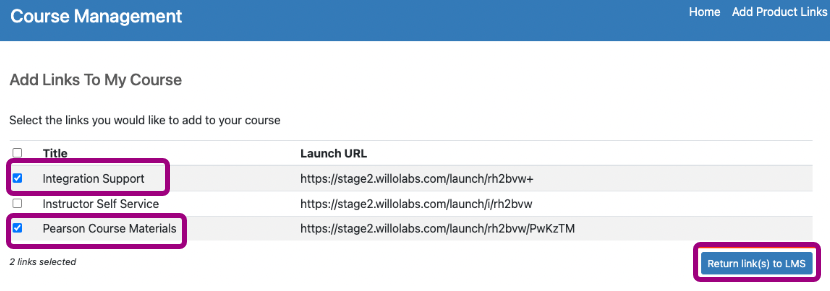
Select Course Management to add links to your LMS course.
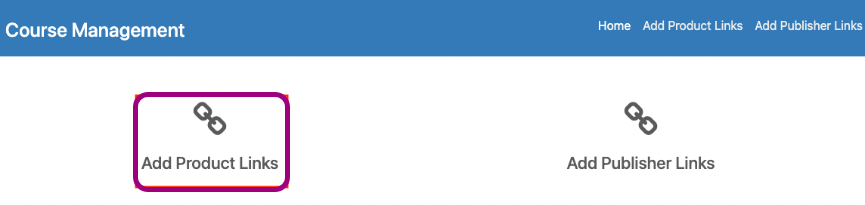
- Select Add Product Links.
- Depending on your course setup, do one of the following:
- If you see the Add Links To My Course page, select the check boxes for the Integration Support and Pearson Course Materials links. Then select Return link(s) to LMS.
- If you don't see the Add Links To My Course page, select Continue in a new window and go to step 9.
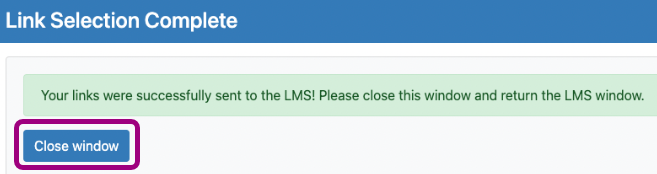
- Select Close Window.
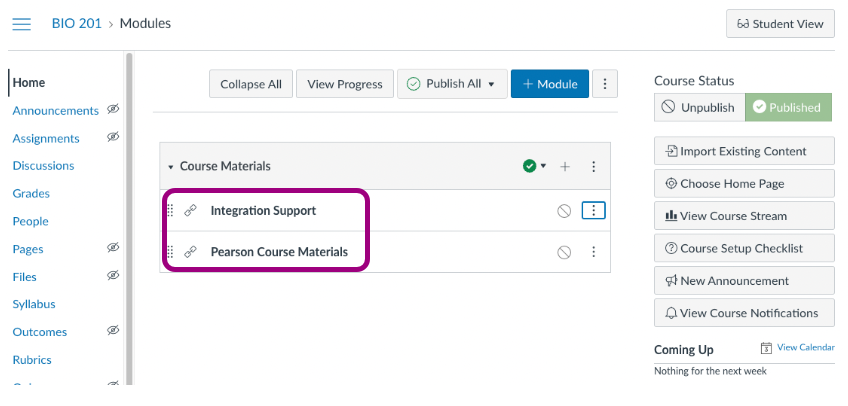
- Select Pearson Course Materials.
For videos and additional resources, see Follett-Willo Help.
- Open your LMS course.
- Select the Course Materials link to access RedShelf. The name and location of the link depends on the course setup.
You may need to add the link. For instructions, see RedShelf Help.
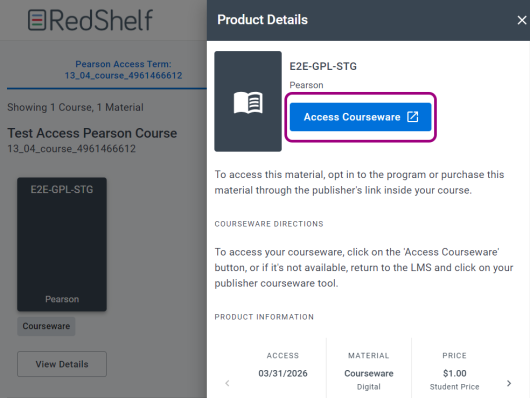
- Select your course or View Details.
- Select Access Courseware.
- Open your LMS course.
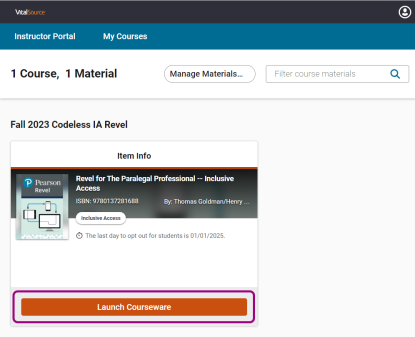
- Select the Course Materials link to access VitalSource. The name and location of the link depends on the course setup.
- Select Launch Courseware.
For more resources, see VitalSource Help.
Link accounts and add or copy Revel content
Depending on whether you're using Access Pearson or a bookstore alone or in combination, your next step is:
- Access Pearson and bookstore: If you linked accounts and associated courses using Access Pearson, you don't have to repeat these steps after enabling Access Pearson Codeless. You can access your Revel content from the Access Pearson or bookstore link.
- Bookstore only: If you're using a bookstore but not Access Pearson, you need to link accounts and finish setting up your integration after you enable Access Pearson Codeless. Select your LMS for instructions.
 Watch how to add or copy Revel content to your course (1:43)
Updated 22 Apr 2025